TRIPOD MODIFICATION
March 2017
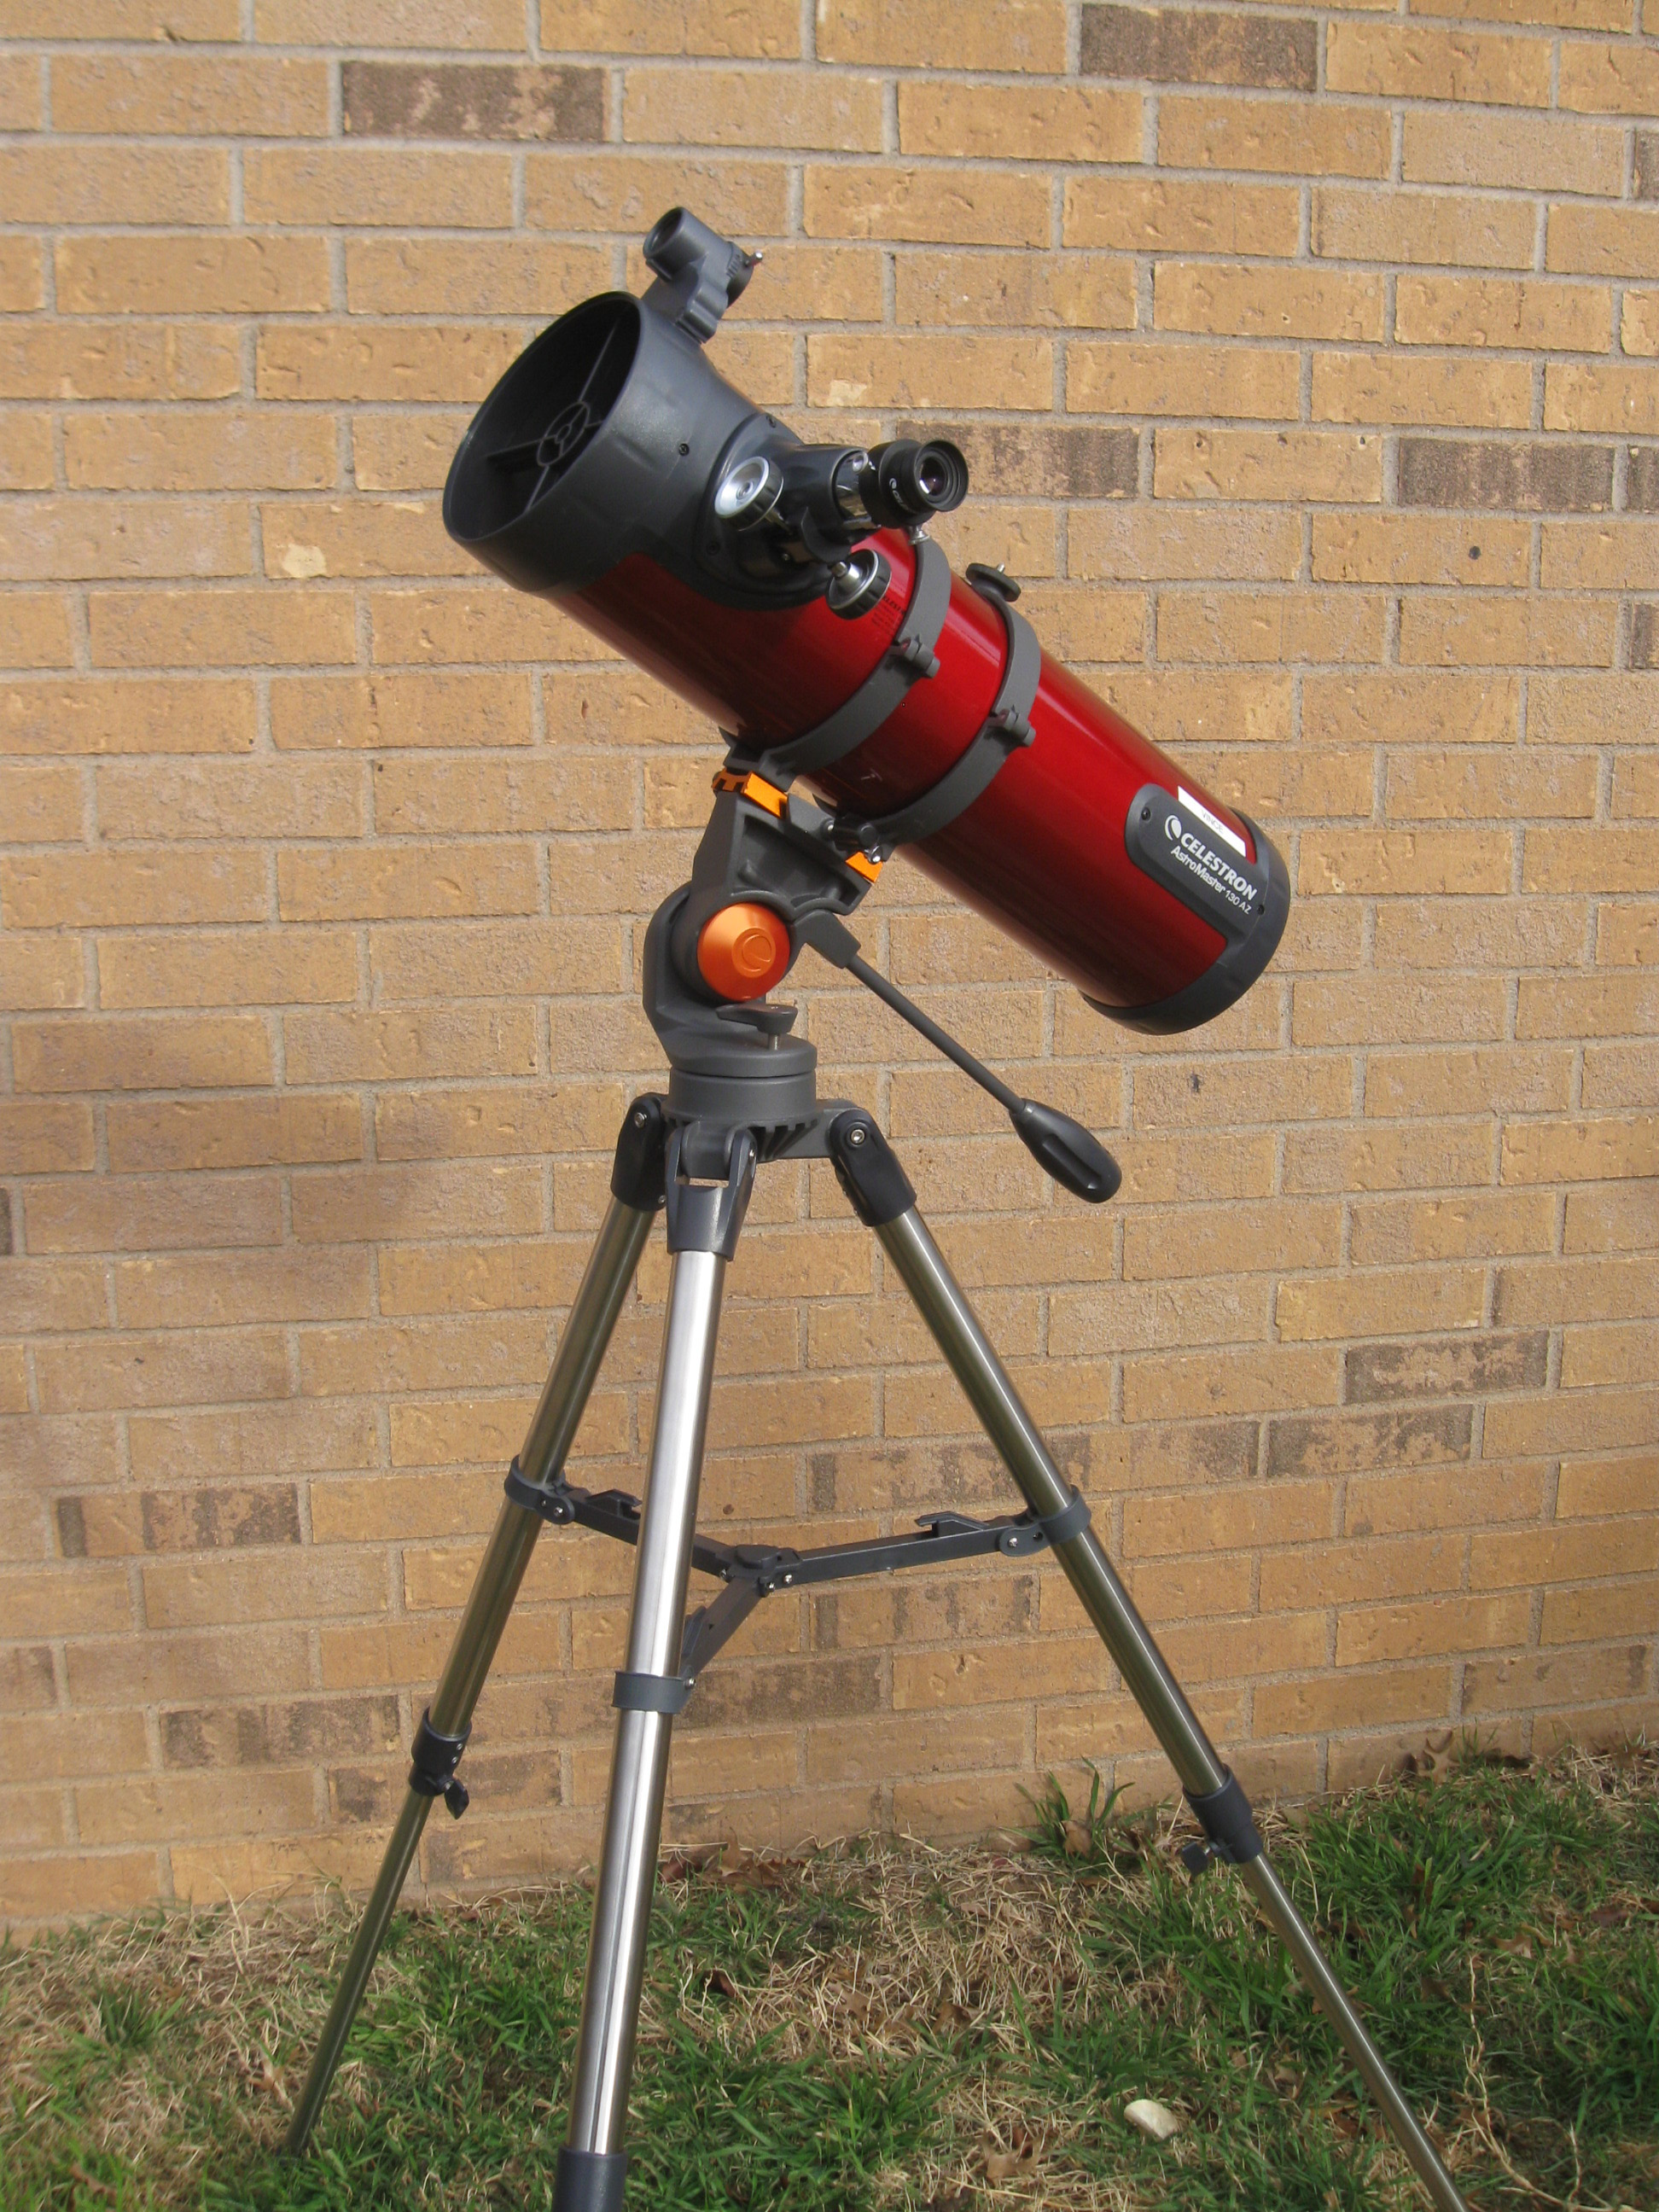
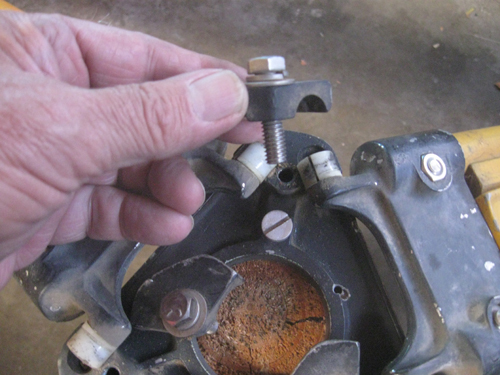
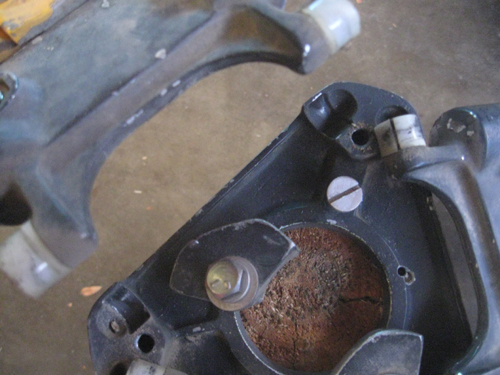
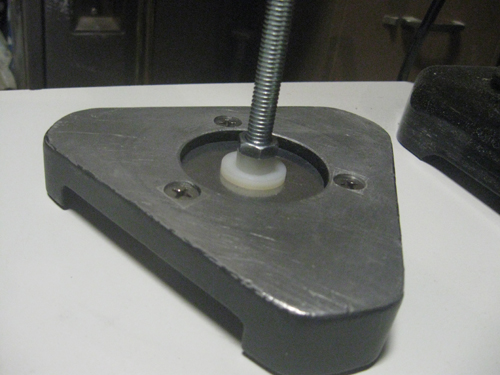
A good p-mount needs a strong, stable tripod. I decided to cannibalize the tripod from my Celestron Astromaster 130 AZ. I was never happy with the alt-az mount on the scope. The optics are pretty fair for a beginner scope so I have future plans to construct a Dobsonian mount for the optical tube. I will post the results of that project on this website. The tripod itself isn't too bad--steel tubing construction, pretty strong and stable. The tripod with alt-az mount but without the telescope can be purchased for $67.00 on Amazon. The alt-az mount was secured to the tripod with and allen head bolt, a simple procedure to remove it.
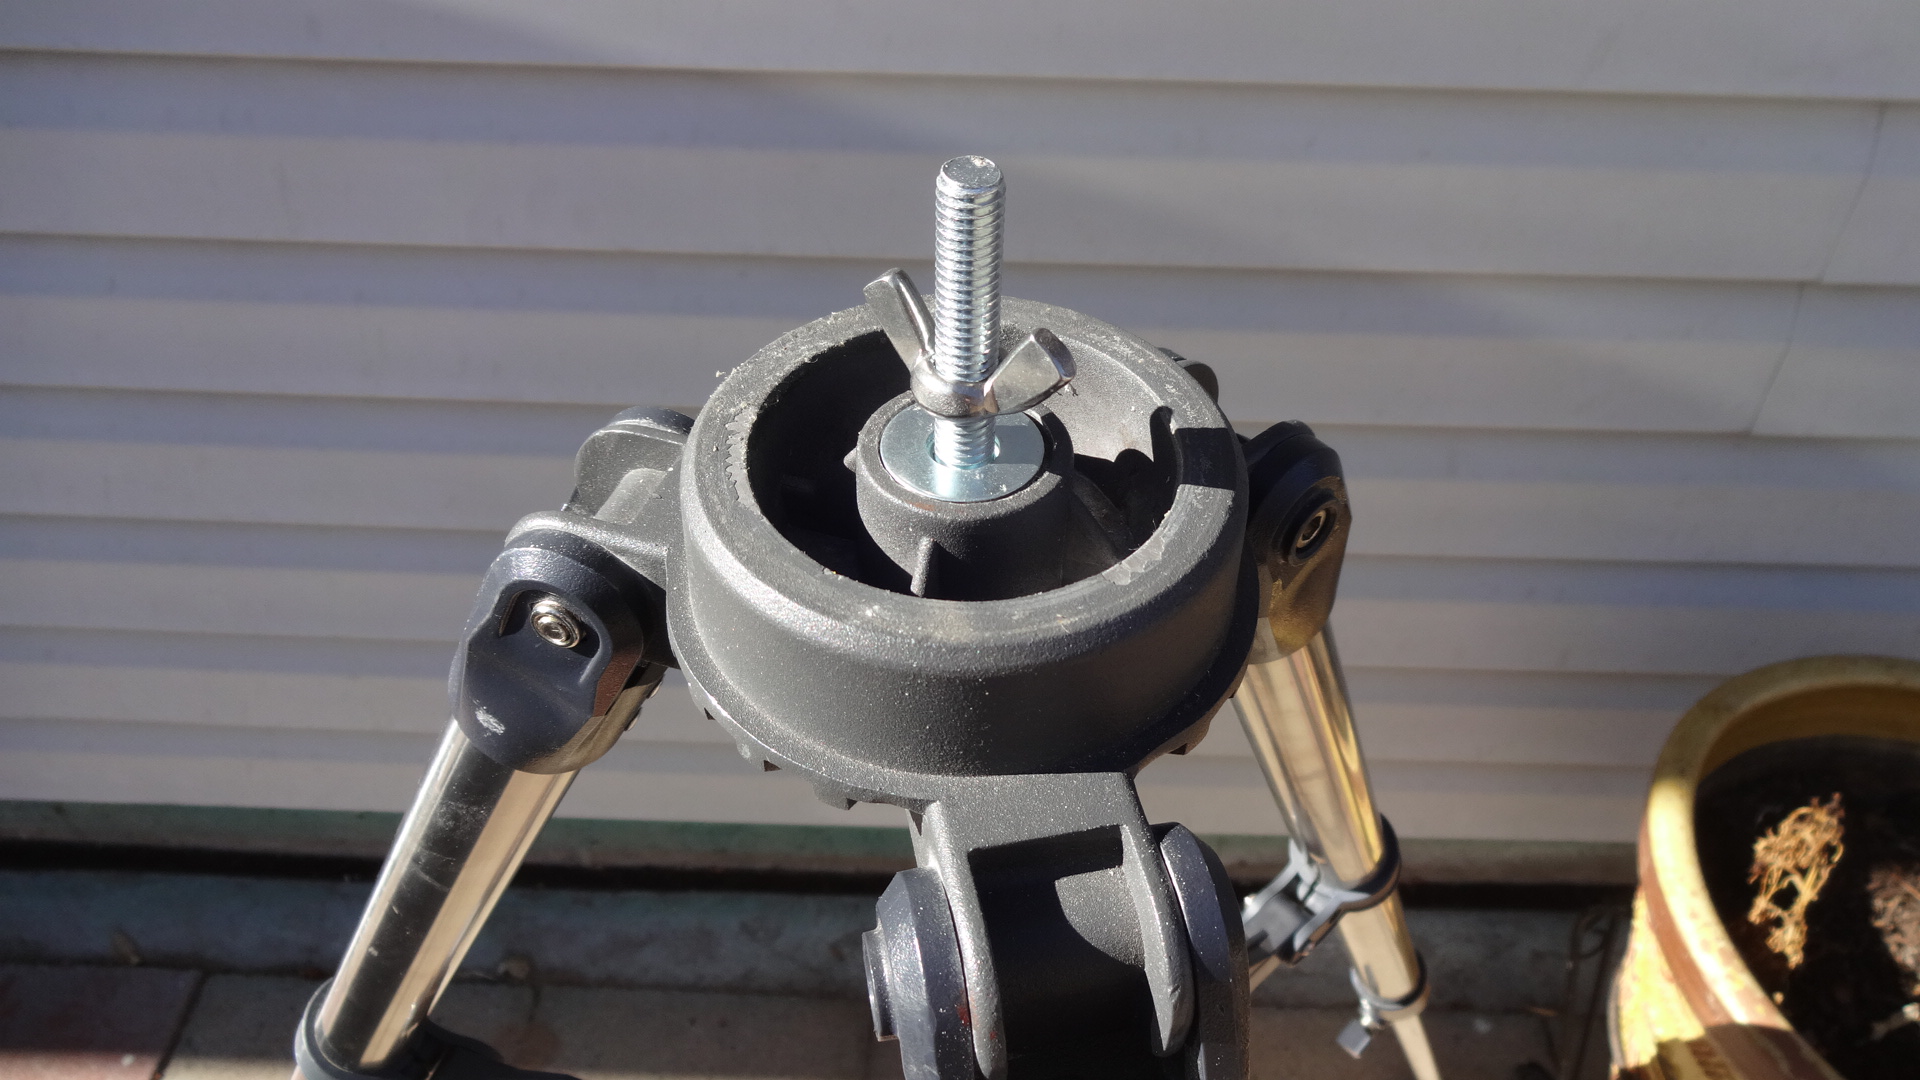
Next I replaced the original allen head bolt. It wasn't long enough to secure the p-mount. I replaced it with a 3/8" hex head bolt, secured with a hex nut. I stacked washers on top of the hex nut to fill the gap left by the removal of the alt-az mount base. The washers are to provide lateral stability. The wing nut will eventually be used to secure the p-mount to the tripod, and will make for easy disassembly for transportation.
November 2017
Well, that didn't work out so well. It works after a fashion, but the little Celestron tripod just isn't strong or stable enough to support the monster that I have created. The top of the tripod is not wide enough to support the base plate properly.
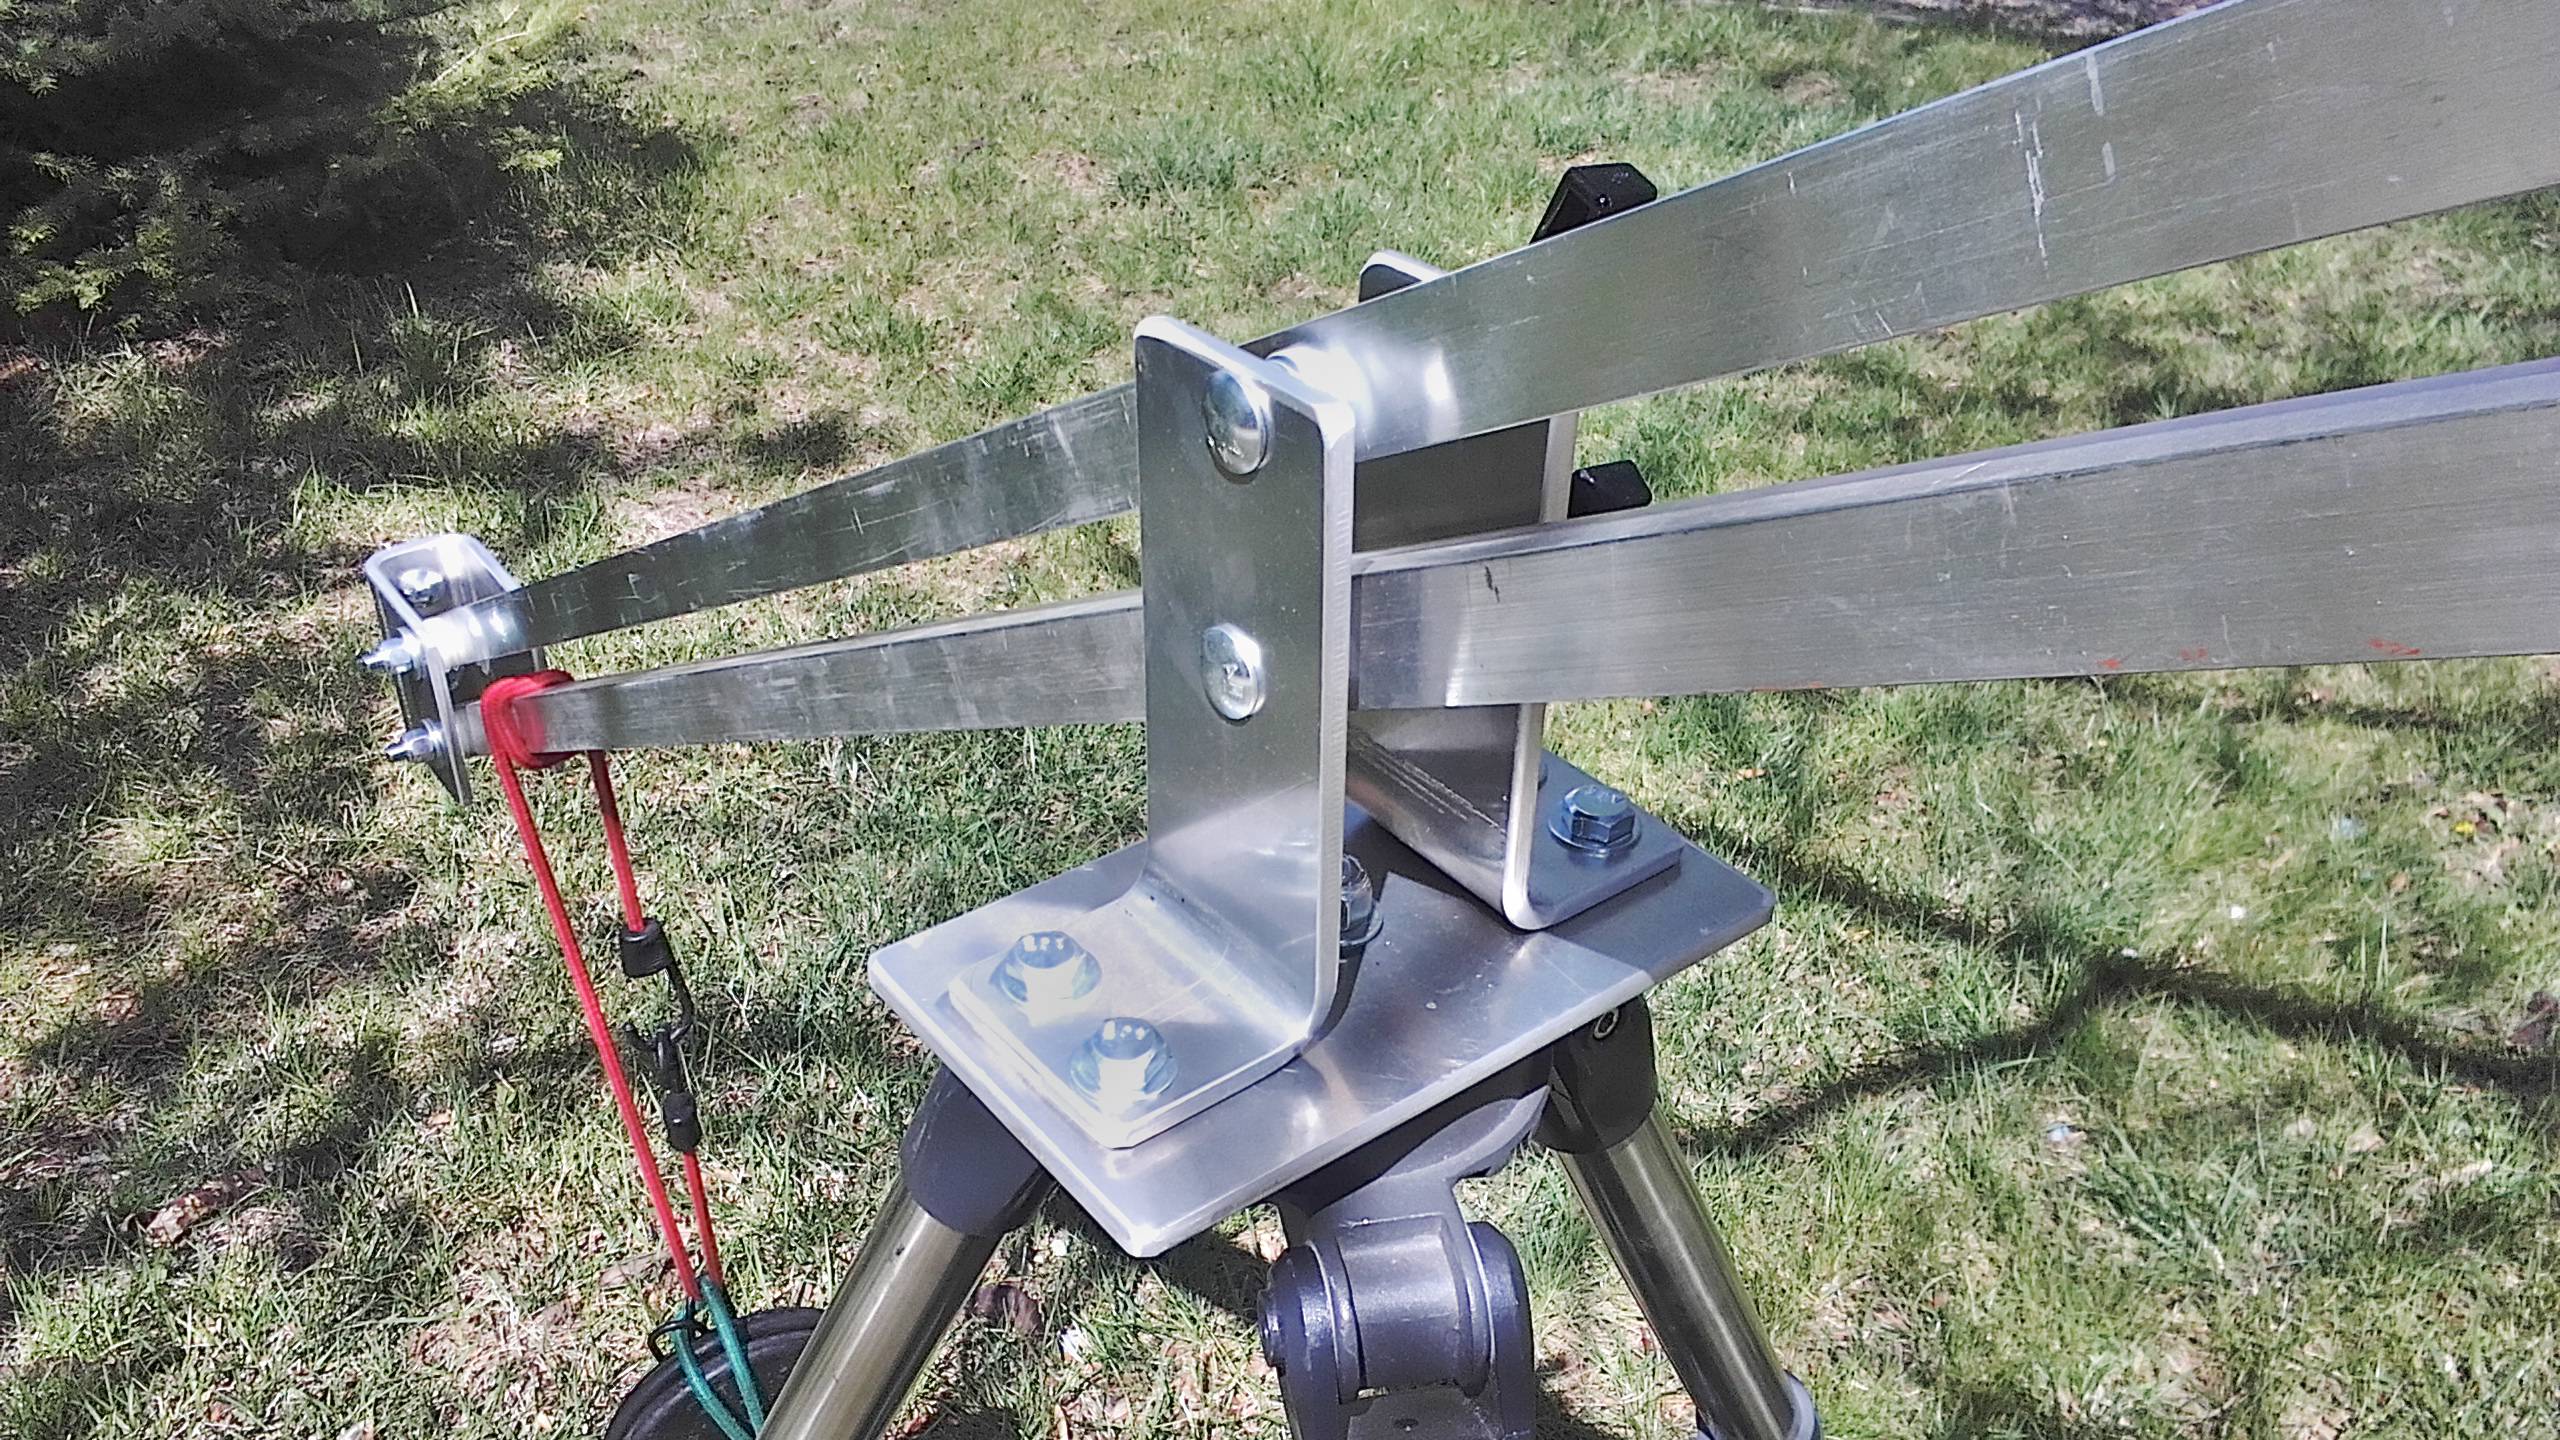
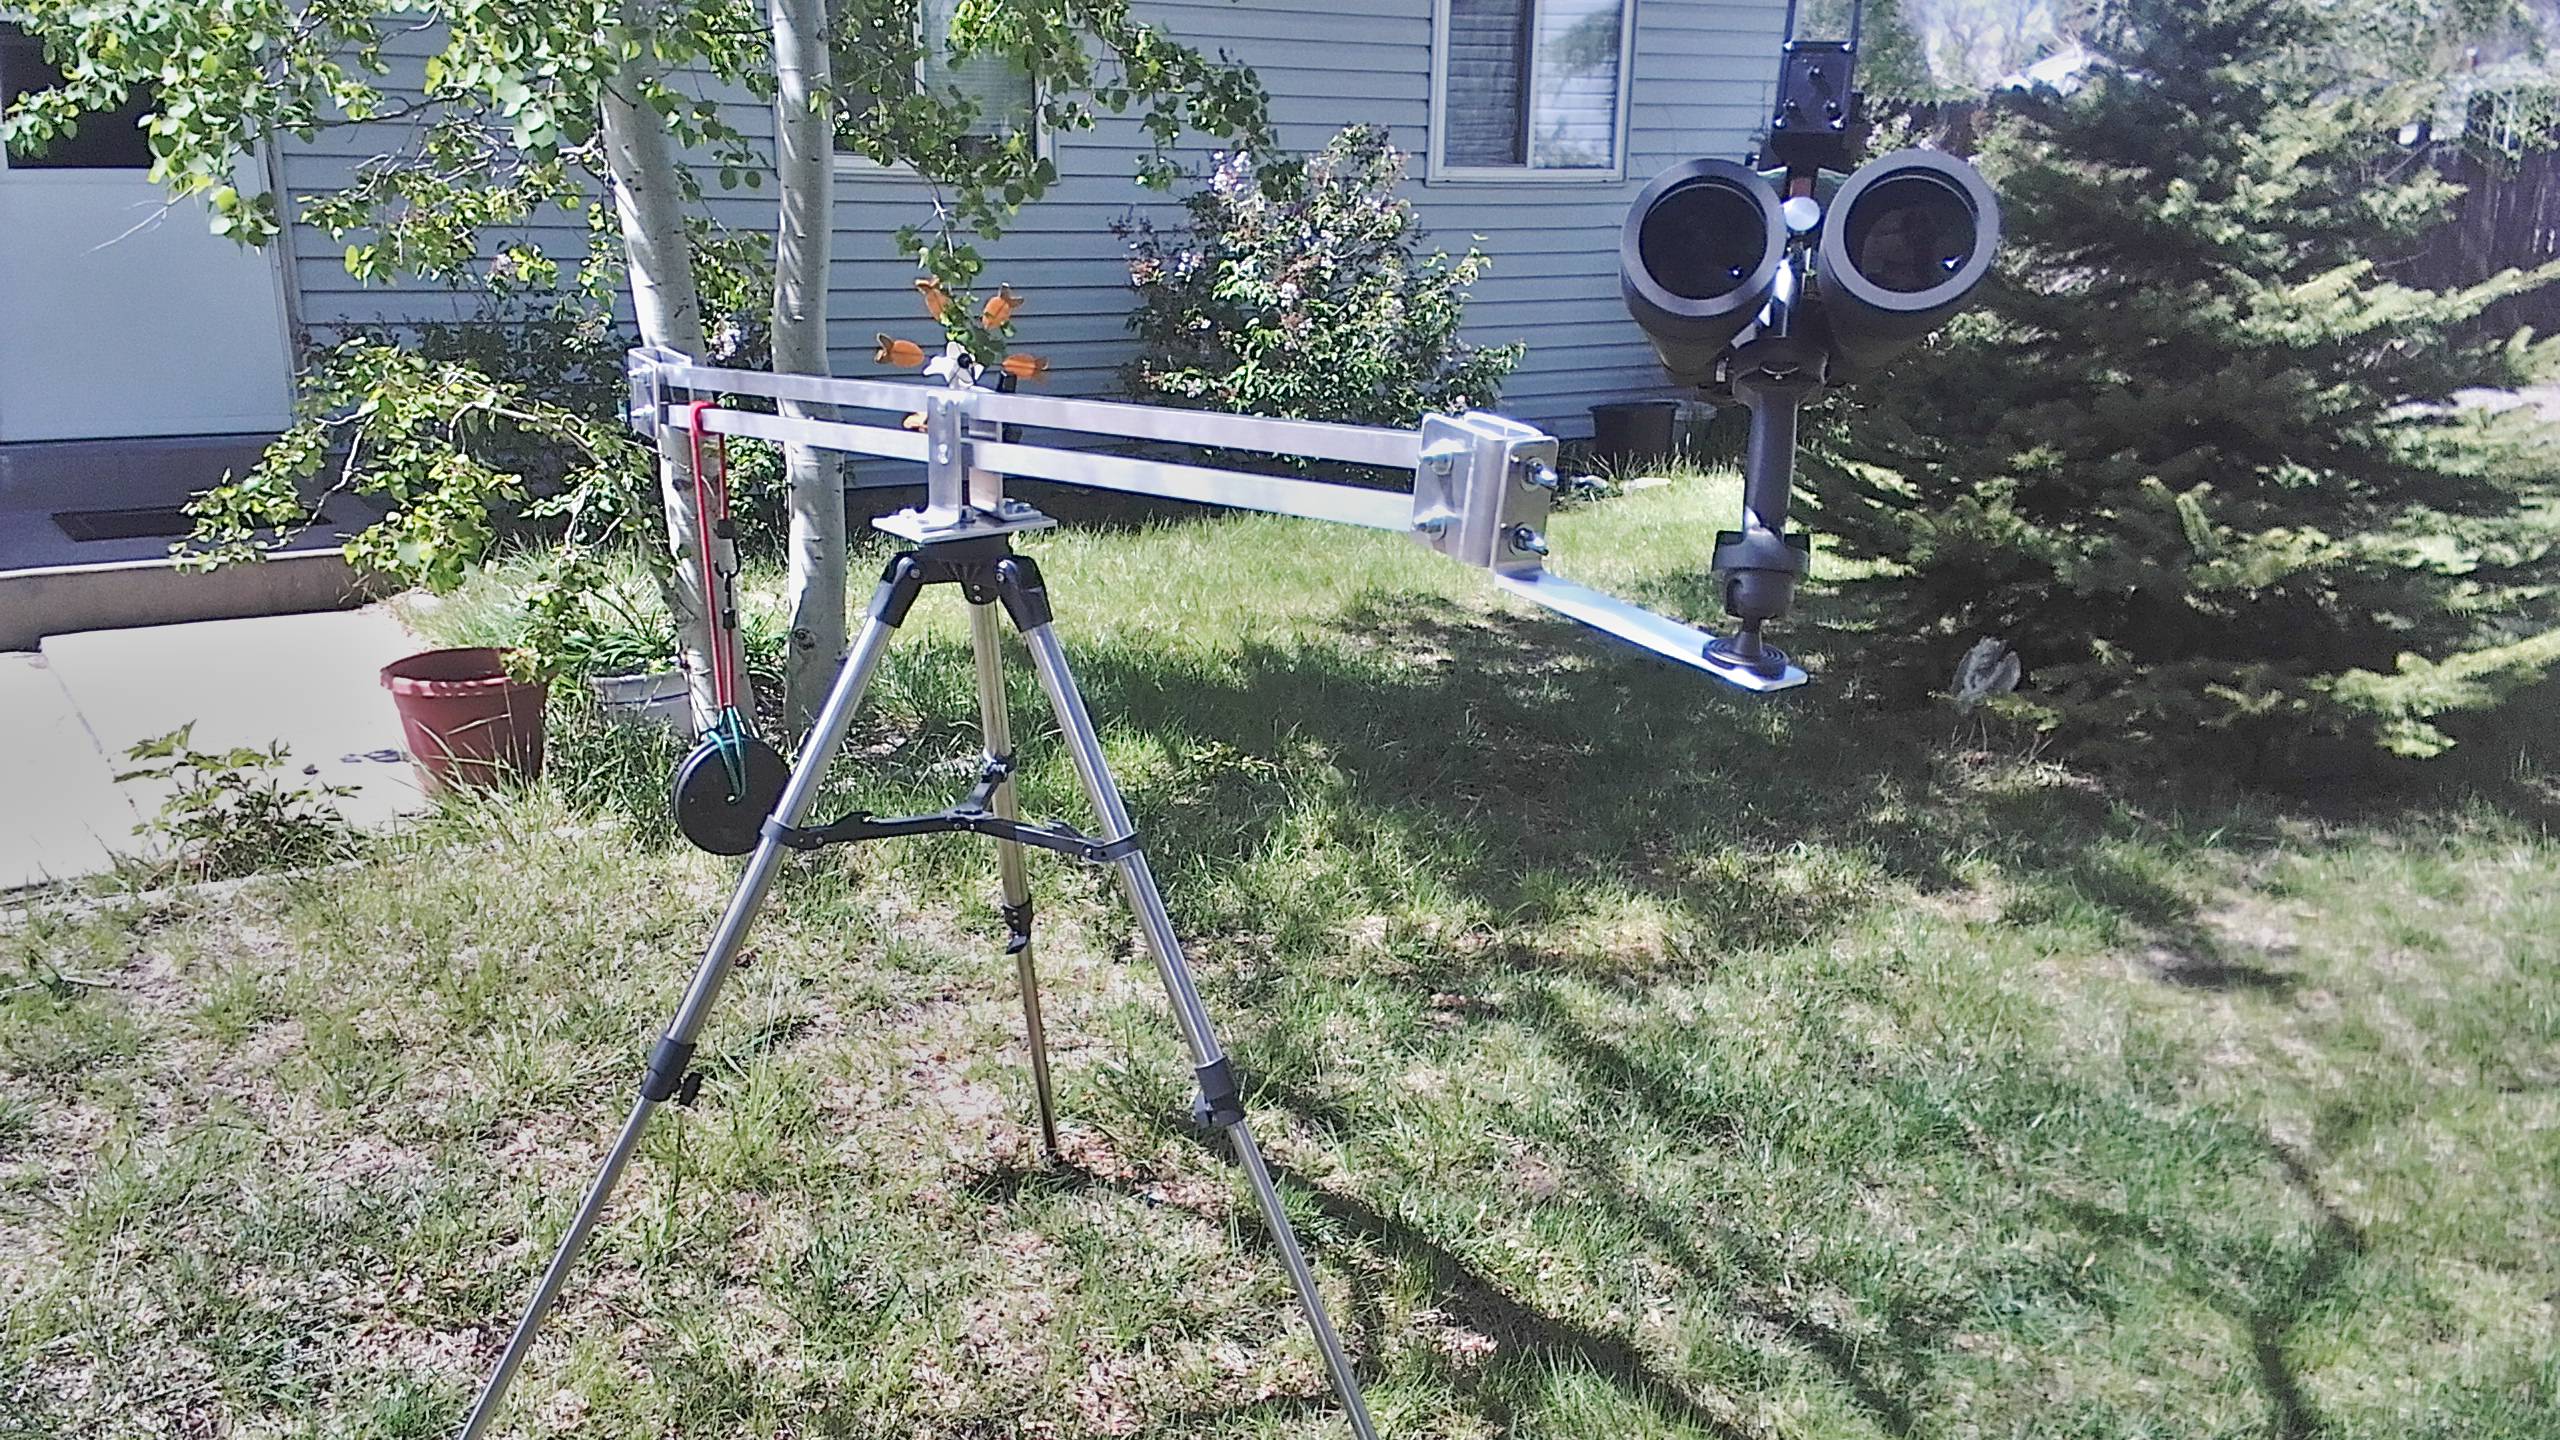
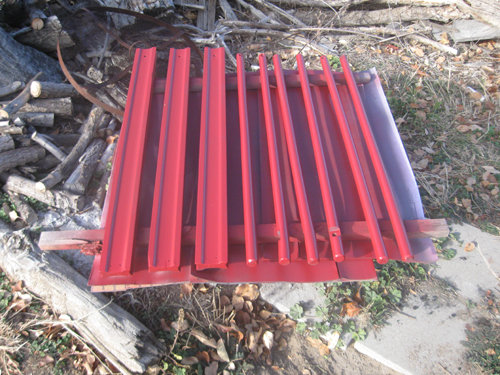
Here's an early setup (version one with two parallel beams) with a 4 pound pair of 20x80 binos on the trigger ball mount. This is the smaller mount, the cradle bracket for the big 10 pound 25x100's goes on the end where the temporary coutnerweight is suspended. Even with this lighter setup, the whole thing was a little shakey.
I decided at this point that the Celestron tripod wasn't going to work out. I hunted around for a while for a suitable alternative. What I came up with was an old wooden surveyor's tripod that I found on Craig's List for fifty bucks. This thing is a rock, but I'm going to have to redesign and rebuild the whole center bracket/tripod pivot to accomodate the mounting to the tripod.
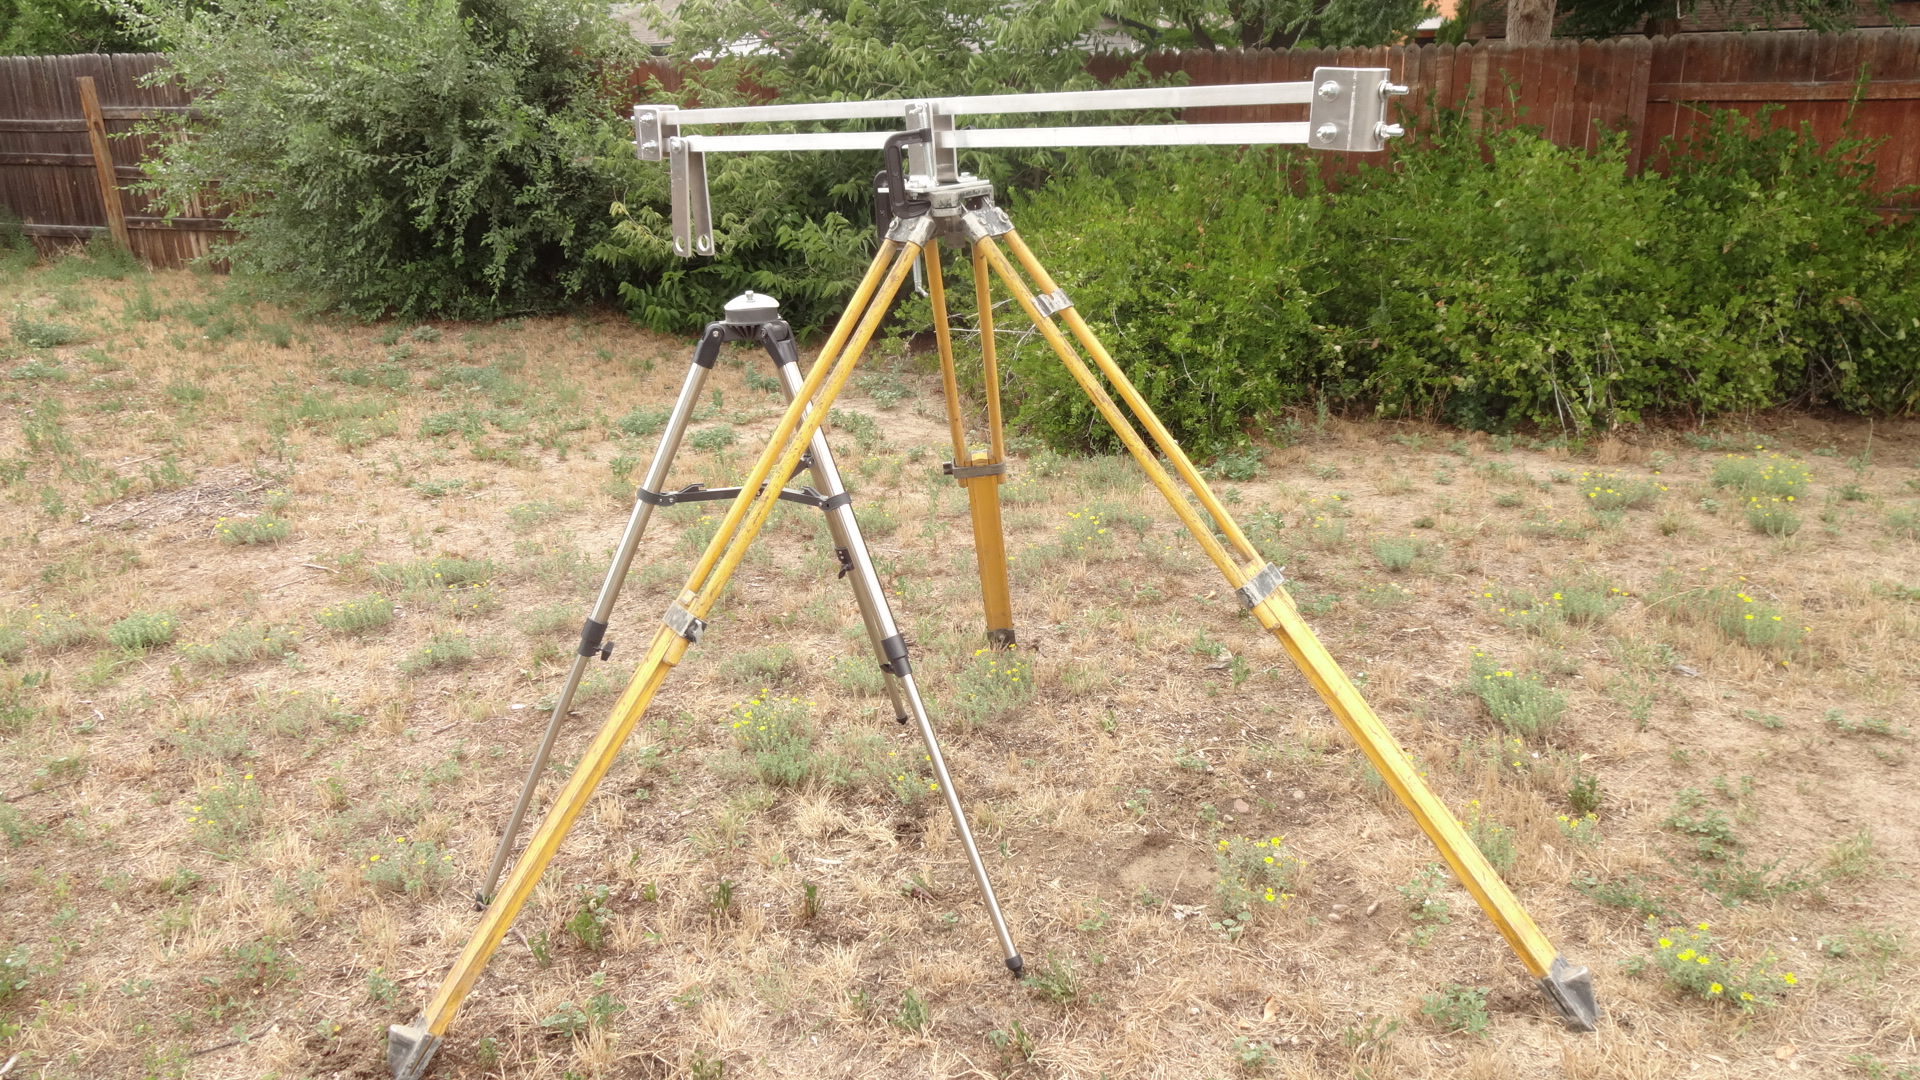
The Brunson tripod is going to require complete disassembly, cleaning and refinishing before the project is completed, but I'm retired finally, so I have a little time to spend.

Here's the top plate of the surveyor's tripod with the original hardware for mounting a surveyor transit.
 |
 |
| Turning the tripod
upside down reveals a single screw that secures the transit mounting hardware |
Here's the upside down
tripod with the transit mounting hardware removed. |
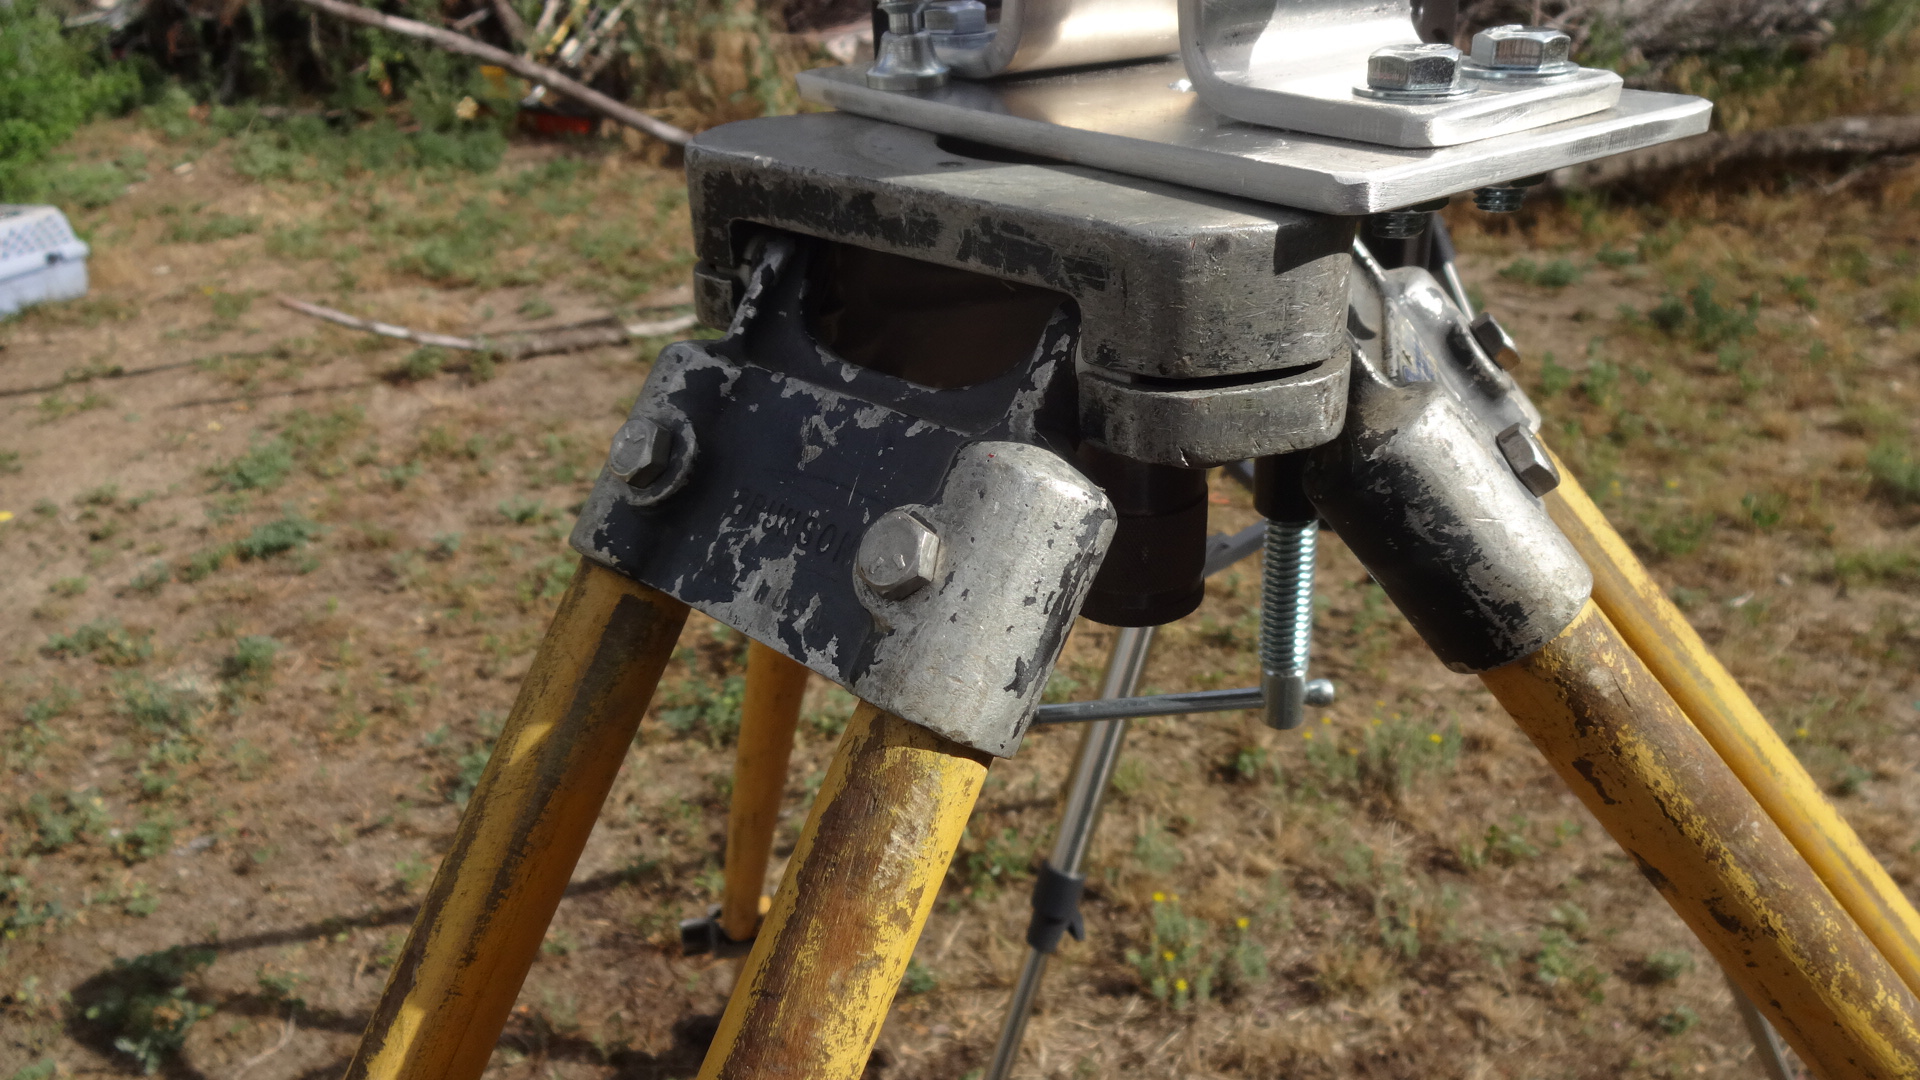
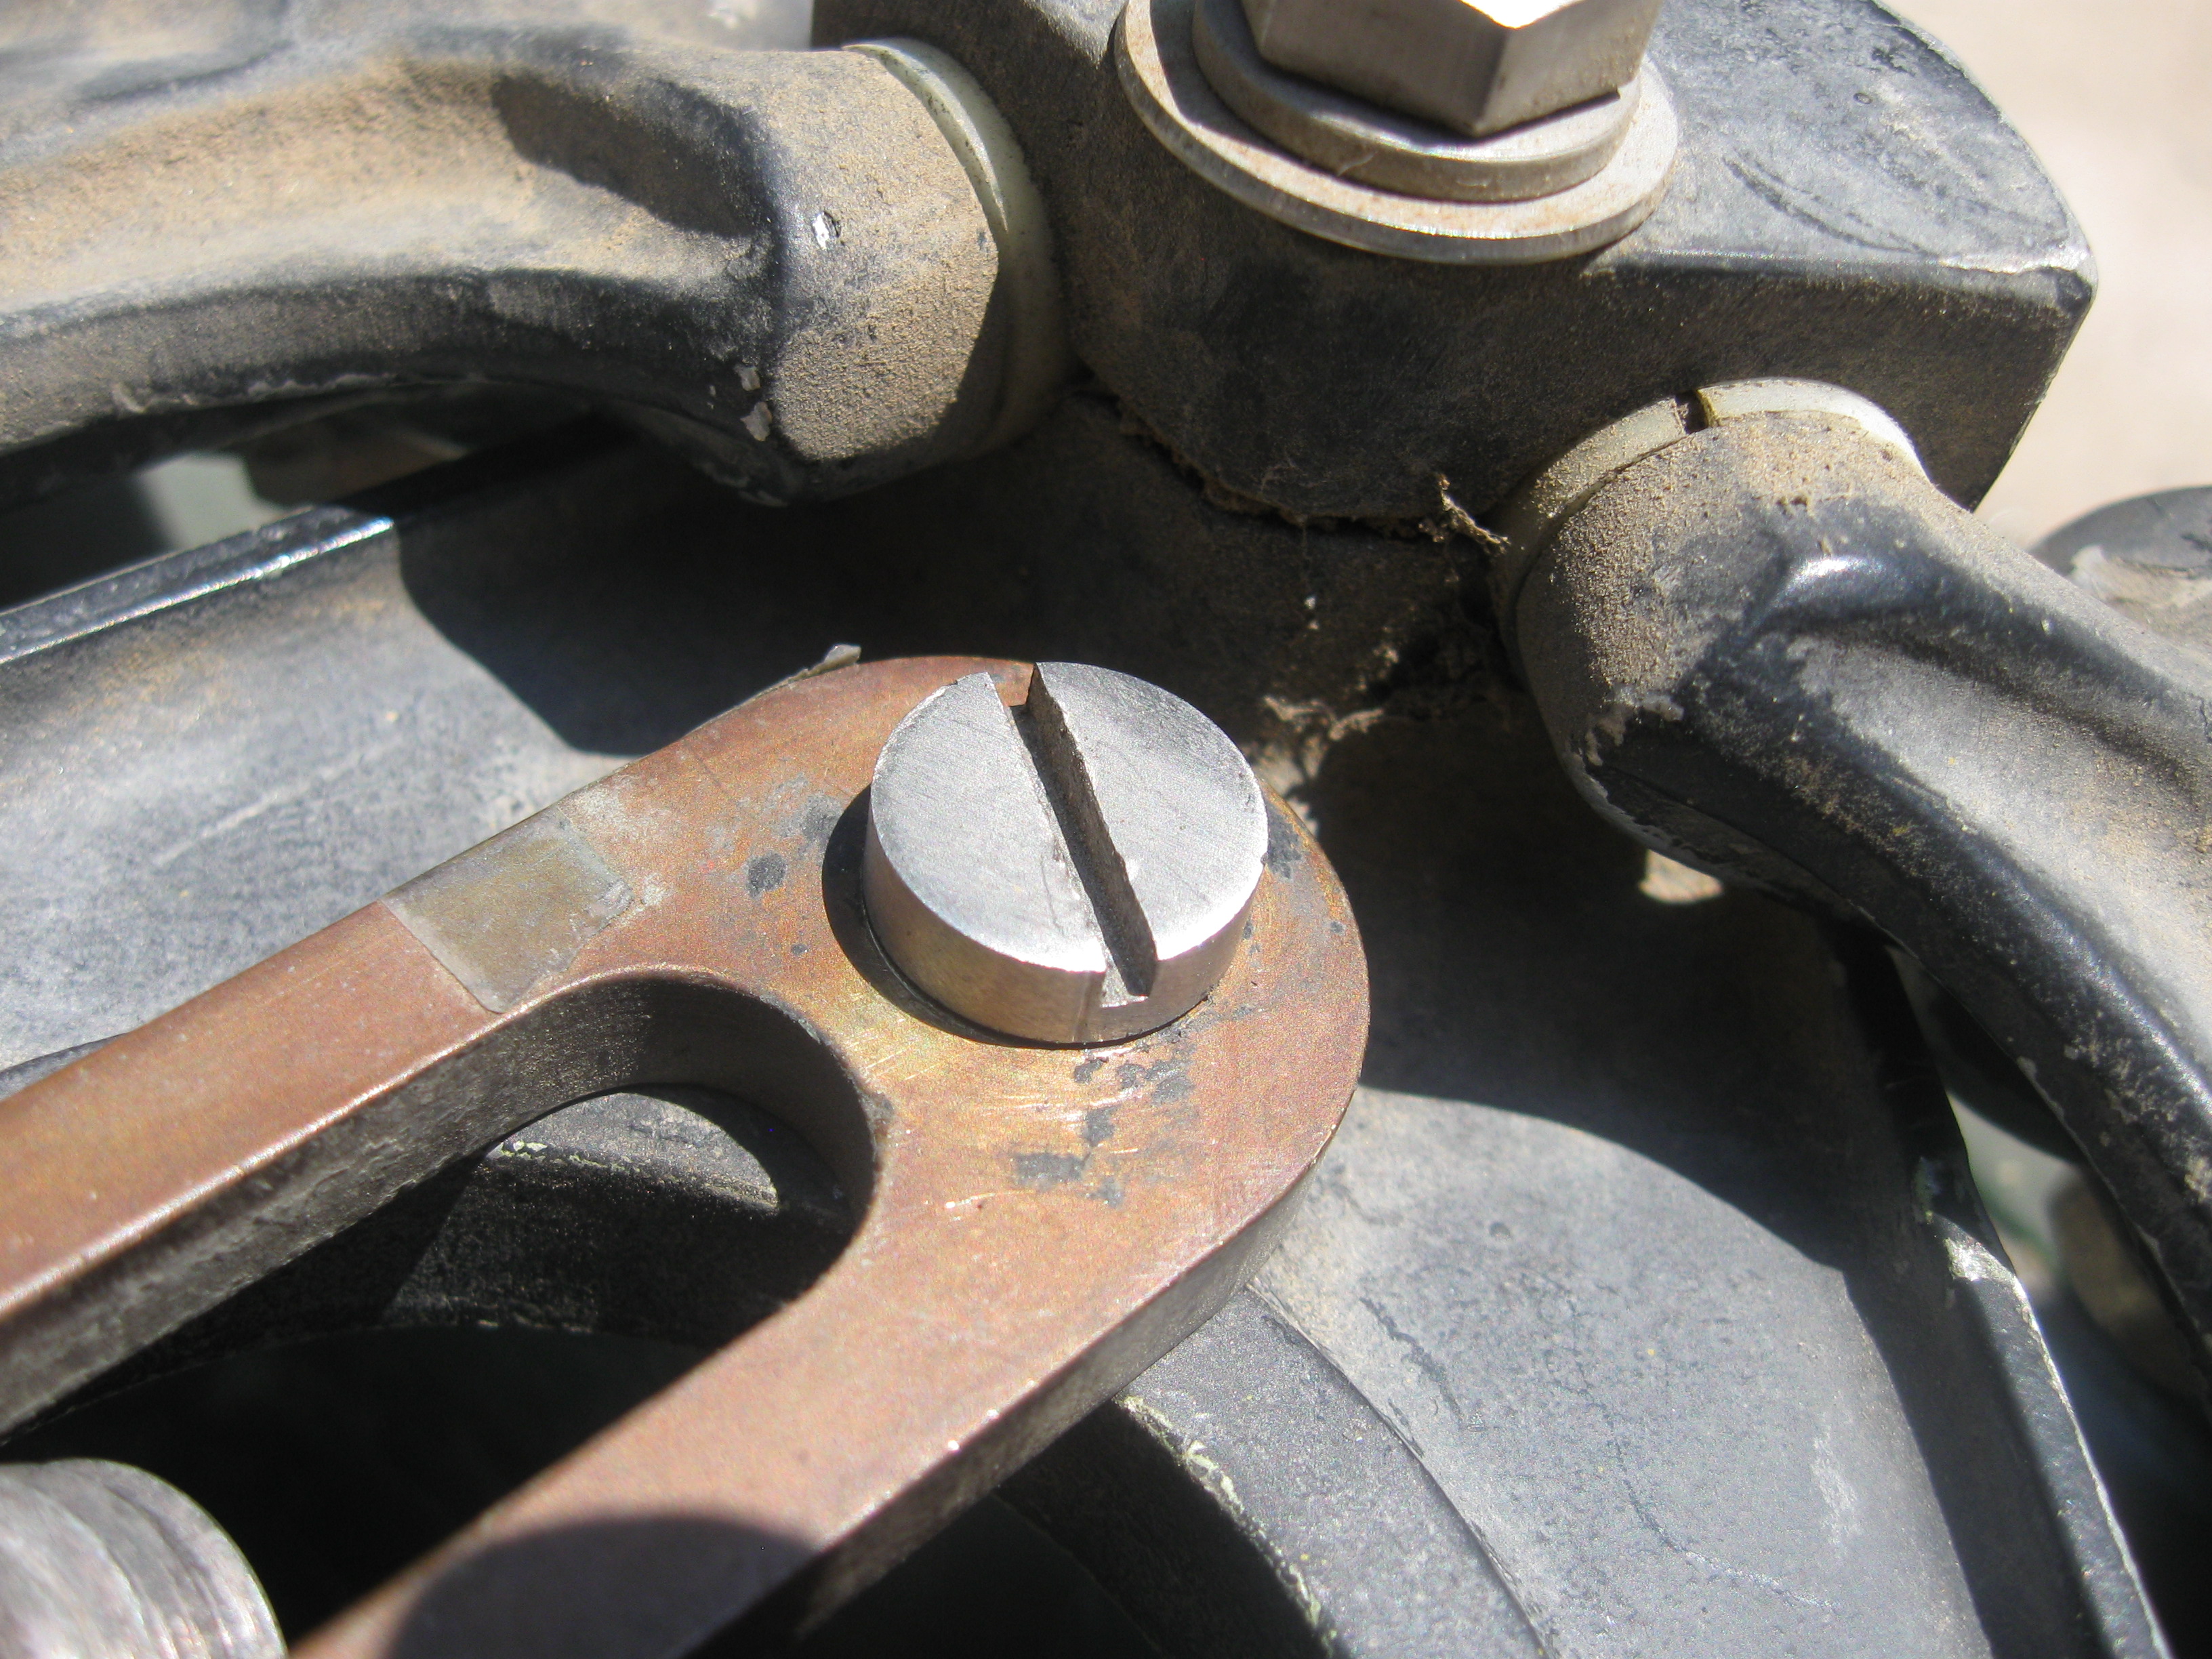
The leg pivots are secured to the top plate with cap bushings. Loosen three bolts and the legs come off.
The rest of the tripod disassembly was pretty straightforward.
The wooden parts of the tripod after sanding, washing with sodium hydroxide and priming.
I let the primer cure for a day and then spray painted the wooden parts with red satin finish spray paint.
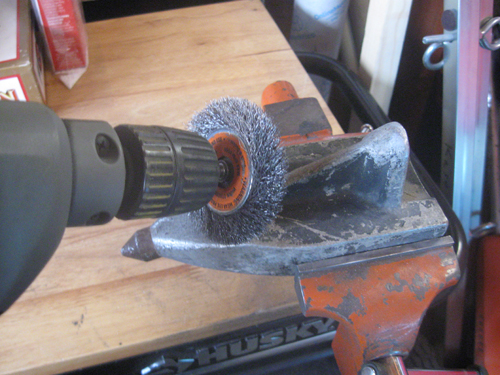
All of the metal parts were made from aluminum and painted battleship grey. The paint was pretty well worn off in most places. I removed the old paint and oxidation with a wire brush and hand held electric drill.
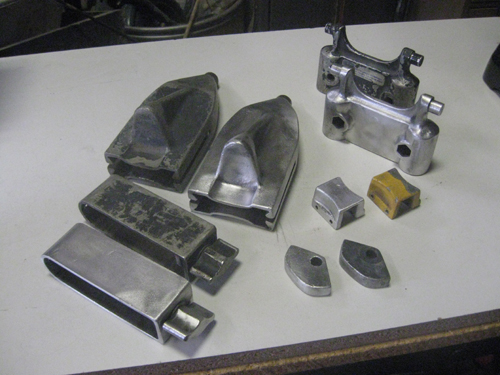
These are some of the metal parts before and after using the wire brush.

The metal parts were given a couple coats of self-etching metal primer prior to final coats of satin finish black paint.
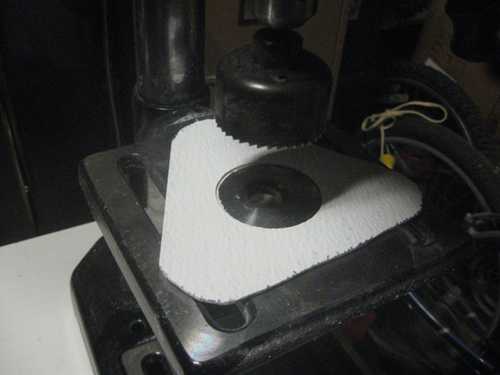
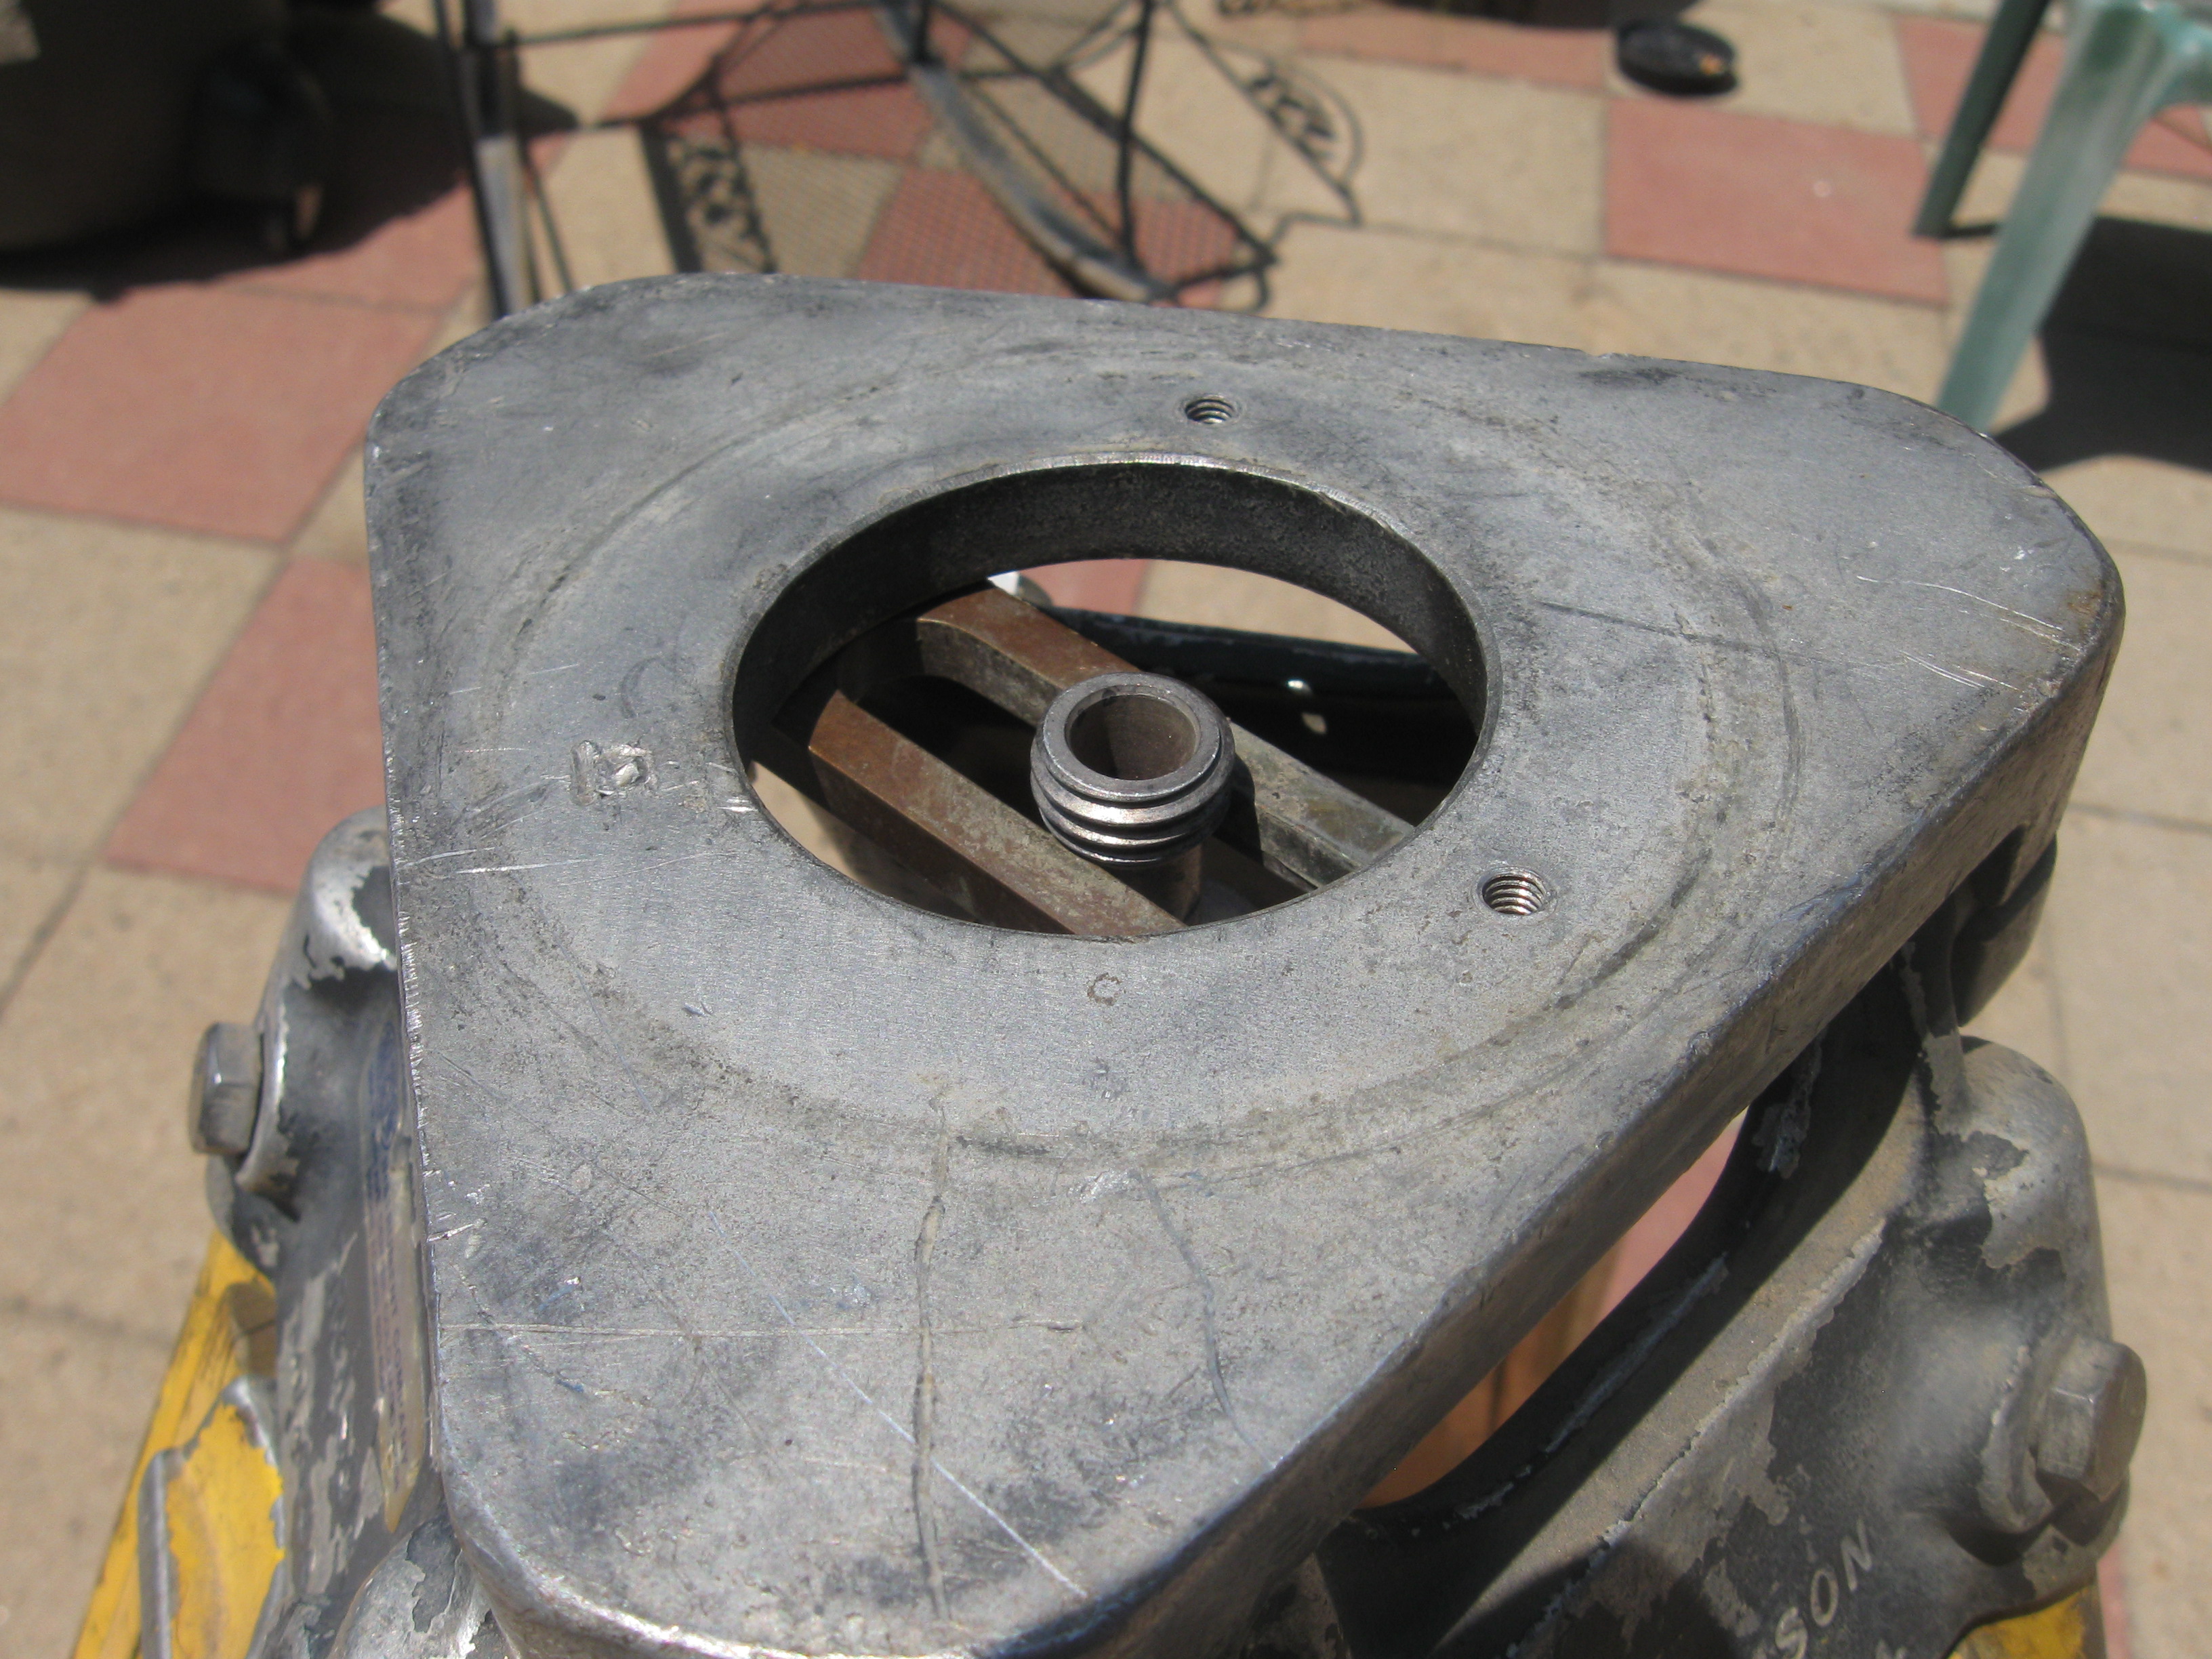
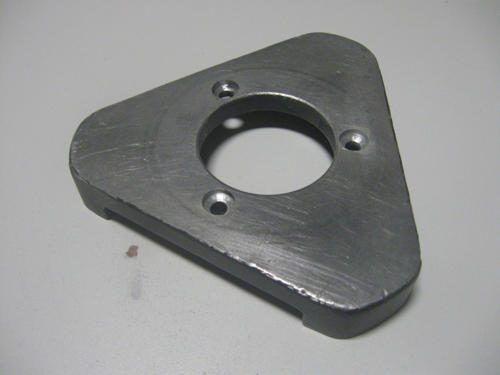
The main pivot bearing for the parallelogram mount is virgin PTFE (Teflon) on textured FRP (fiber reinforced plastic). I cut the pivot bearing with a bandsaw and drilled out the 1" center with a door lock saw bit.
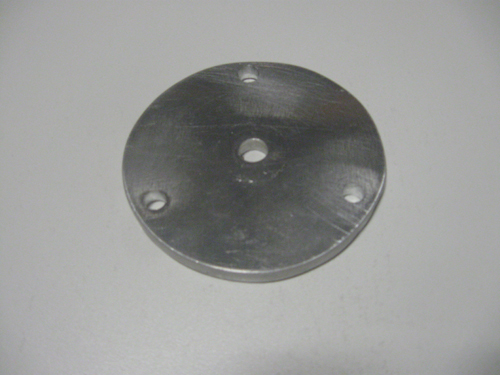
I fabricated the bottom backing plate from 1/4" thick aluminum plate. Then I drilled the center pivot hole and mounting holes.
The tripod top plate polished and drilled and countersunk for attaching the bottom backing plate.
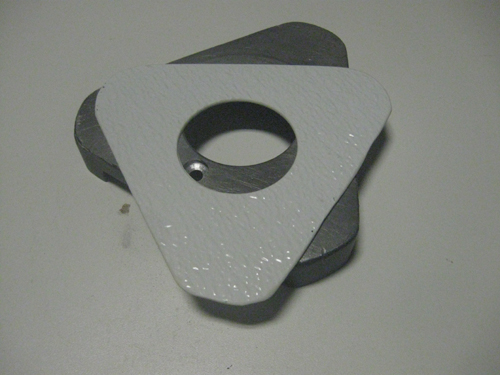
Tripod head and FRP bearing. The bottom backing plate is attached first, then the FRP is mounted to the tripod head with contact cement. The FRP bearing covers the backing plate countersunk mounting holes, so the backing plate had to be mounted first.
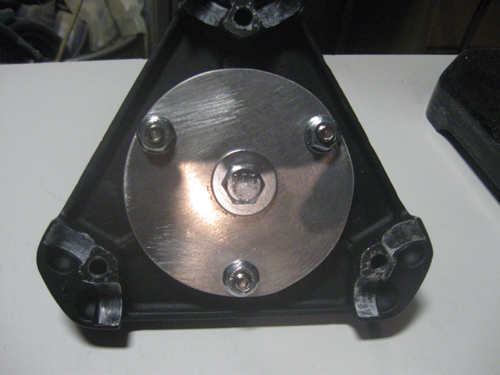
This is a bottom view of the tripod head with backing plate attached and center pivot bolt mounted.
Top view of tripod head with pivot assembly in place. I also added a 1" diameter x 1/4" thick aluminum disc on top of the bottom backing plate. This was added for additional lateral stability.
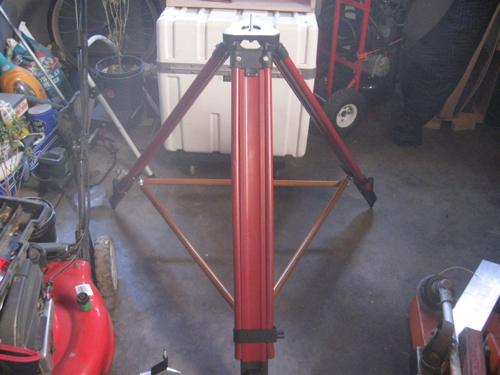
Here is the refinished surveyor tripod. Note that the white FRP bearing has now been cemented to the tripod head. I also added leg cross braces which firmly lock the tripod in the configuration of a tetrahedron. A tetrahedron is second only to a sphere as being the strongest three-dimensional shape. Later I painted the leg cross braces black to match the metal hardware.
During the course of
refinishing the tripod, I found very similar all-aluminumn tripods for sale on
Amazon for less than $100. If I had found these sooner, I might have gone
with one and saved myself a lot of work. Similar tripods with fiberglass
legs are a little more expensive, and new wooden leg surveyor tripods start
around $250. However, it was an interesting "rescue" project and I'm
quite pleased with the results